


What I thought was a desk was actually a vanity. The center lifts up and inside there is a vanity compartment and a mirror. I had to repair the brackets sp0 it would stay open. It was very fragile. Its old the center is heavy and the legs are thin. It was falling apart. I have had to clamp, glue, and rig this bad boy. I was not going to give up. I got 4 more legs so that each side would be supported. I left the original hardware and painted over it. The orignal piece can be seen here. Its the photo titled desk 1914.


I painted the drawers inside with Ikea glazing paint (red) it’s more orange though and then brushed over with ASCP in arles while the varnish was still damp. I did the same inside the vanity part and then sprayed krylon dual off white (flat) lightly. I then blended colors and painted the inside over and over until I was happy with it. the back was ugly and I wanted to leave the option open to have it exposed.


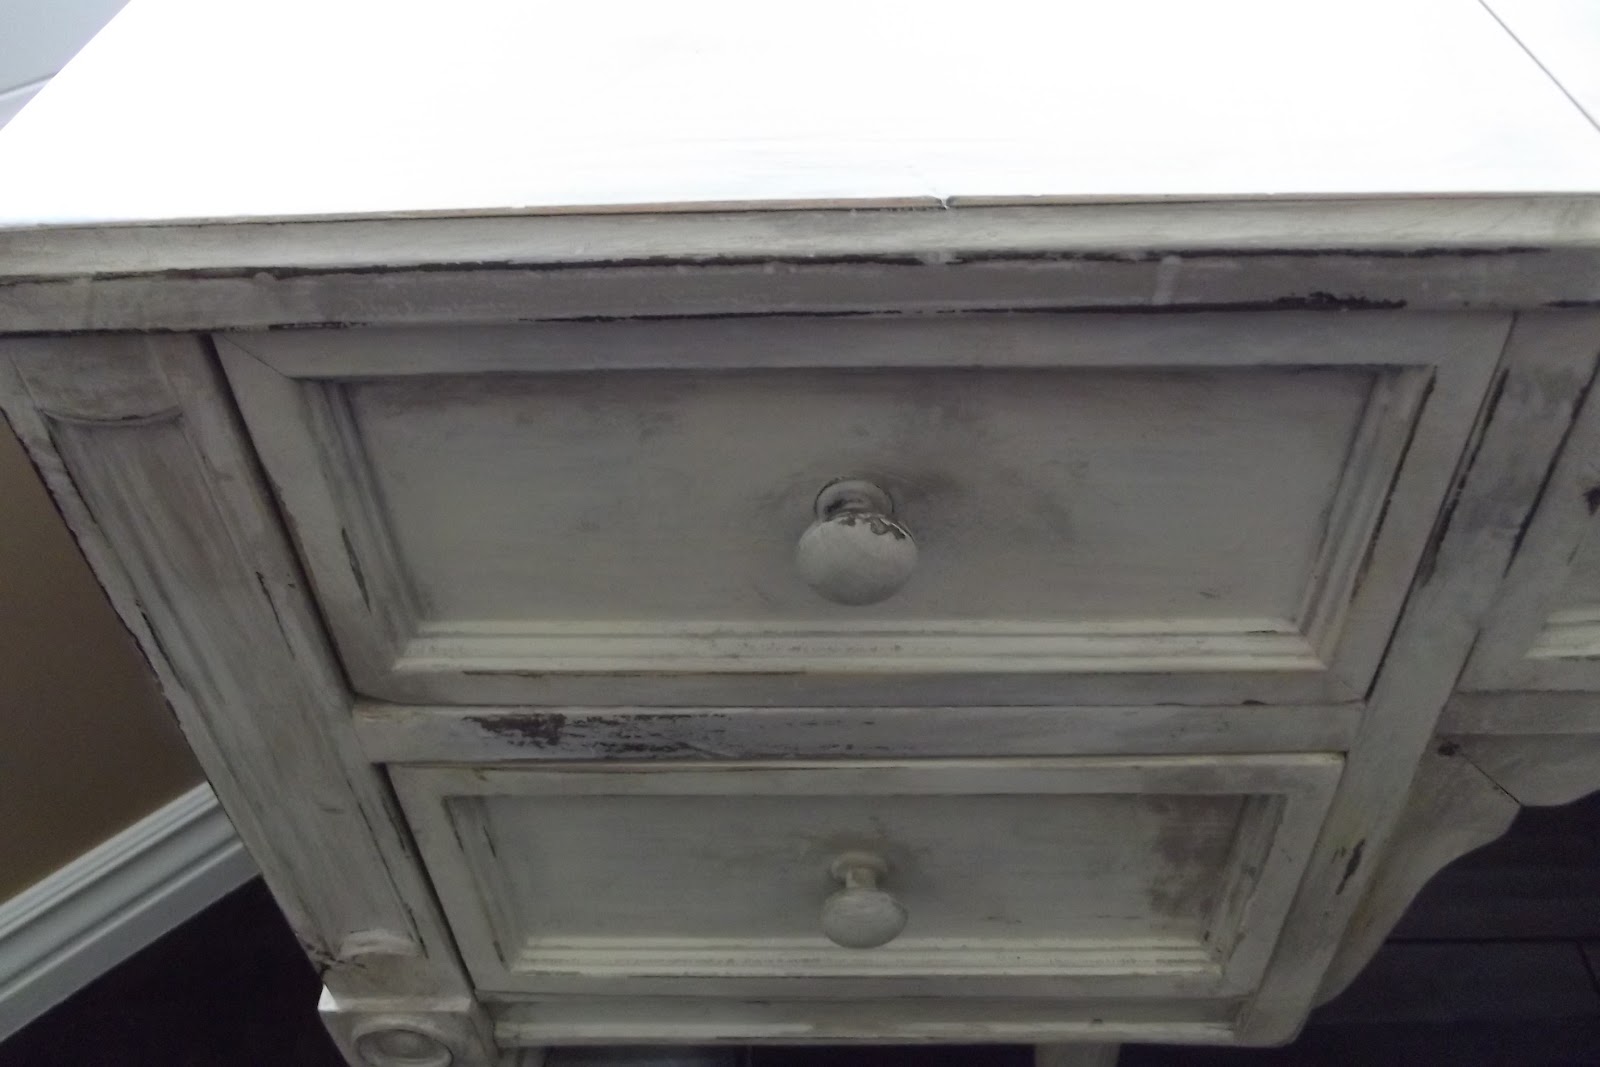
I trimmed it out with pine lattice. I placed medallions on. I took drywall compound and created texture in a random way. I layered ASCP in old white arles and French linen with a few combos of the three. I washed over it with a watered down old white several time. When I sanded it orange and yellow and grey all peeked through. I did clear wax (ASCP wax) on the top only.


this is BEAUTIFUL!! what a find! and it looks so so so good :)
ReplyDeletethanks so much
DeleteWhat a great blog! Love this vanity/desk makeover!! Following your pins :)
ReplyDeleteBarbara @ Chase the Star
Thanks, Thanks & Thanks
DeleteI am impressed! There don't seem to be many bloggers who will tackle a rehab like that, high five to you girl!! and your texture and paint job is AMAZING! :D
ReplyDeleteThanks, Nearly did me in.
DeleteSo cool that it's a vanity! I love the paint. It's going to be awesome when it's finished!
ReplyDeleteIts done, the top & bottom pics are the after shots. Middle shots are the work in progress and link sends you to the before.
DeleteIts done, the top & bottom pics are the after shots. Middle shots are the work in progress and link sends you to the before.
ReplyDeleteWhat a great piece. You did a great job bringing it back to life too! Thank you so much for linking up on Fabulous Friday at Faith, Trust & Pixie Dust.
ReplyDeleteWarmly, Michelle
you are welcome. thanks. it was a BIG project.
DeleteI love the way multi colors show through with distressing like this. You did a really nice job. I have a dresser that I'm going to redo but still haven't decided on how or what colors. This is an option I hadn't thought of until now. thanks!
ReplyDeleteJessica
wonderful, do it. thankss
DeleteI did, thanks
ReplyDeleteAnother beautiful transformation! Thanks for being a part of our "Strut Your Stuff Saturday." Hope to see you again real soon!! -The Sisters
ReplyDeletethanks, i will be there
DeleteThanks so much for linking up to Your Whims Wednesday, I featured this on my blog today! Stop by and grab a featured button :)
ReplyDeletehttp://www.mygirlishwhims.com/2012/05/your-whims-wednesday-57-and-features.html
thanks for the feature
Deleteit looks gorgeous!thanks for sharing!
ReplyDeleteHugs,
Lelanie
to-sew-with-love.com
tocookwithlove.com